
Best At-Home Teeth Whitening Kits: How to Pick One That Actually Works (2026 Guide)
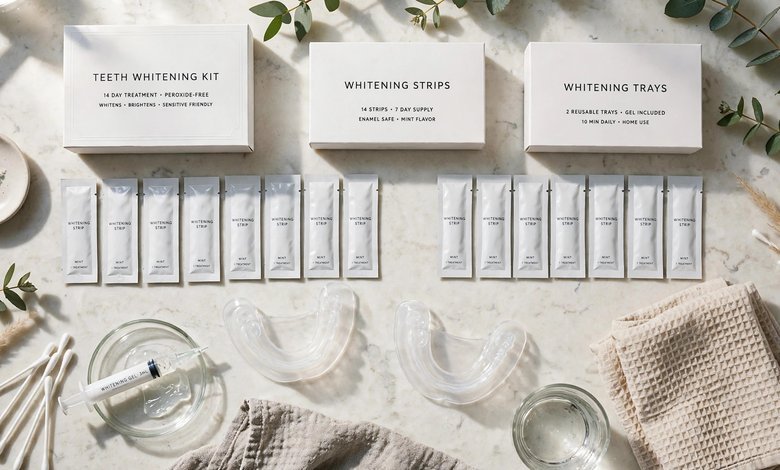
Choosing the best at home teeth whitening kits starts with knowing how they work. Coffee, tea, red wine, berries, tobacco — daily life leaves its mark on your teeth. Professional whitening at a dentist’s office works beautifully, but it also costs a small fortune. That’s why at-home teeth whitening kits have become a billion-dollar category: they promise a brighter smile from your bathroom counter, for a fraction of the price.
The problem? The shelf is crowded. LED kits, strips, pens, custom trays, toothpastes that claim to whiten — they all work differently, and the one that’s perfect for your coworker might leave your teeth aching for two days. This guide explains how at-home whitening actually works, compares the main kit types honestly, and helps you pick the right one for your teeth, your budget and your tolerance for sensitivity.
- How At-Home Teeth Whitening Actually Works
- The 5 Main Types of At-Home Whitening Kits
- Kit Types Compared: Cost, Effort and Results
- How to Choose the Right Kit for You
- How to Use a Whitening Kit Safely
- Common Mistakes to Avoid
- When to Skip Home Kits and See a Dentist
- Frequently Asked Questions
- Conclusion: The Best At Home Teeth Whitening Kits
How At-Home Teeth Whitening Actually Works
The bottom line: nearly all whitening kits use peroxide-based gels — hydrogen peroxide or carbamide peroxide — that break apart the stain molecules lodged in your enamel. Stronger concentrations work faster but irritate more; weaker ones take longer but are gentler.
Tooth discoloration comes in two flavors, and knowing which one you have matters. Extrinsic stains sit on the surface of the enamel — the brownish film from coffee, tea, red wine and tobacco. These respond well to at-home kits. Intrinsic stains are deeper: they come from inside the tooth, caused by aging (enamel thins and the yellowish dentin shows through), certain medications, or trauma. Intrinsic discoloration is harder to shift and sometimes needs professional treatment.
The active ingredient in whitening gel is peroxide. Hydrogen peroxide is the fast-acting form; carbamide peroxide breaks down into hydrogen peroxide more slowly, which is why many gentler kits use it. When the gel sits on your teeth, the peroxide releases oxygen molecules that penetrate the enamel and break the chemical bonds of stain compounds, making them colorless or easier to wash away. That’s the whole trick — everything else (LED lights, strips, trays) is just a delivery system.
Fun fact: dentists have used peroxide for whitening for over a century. The “new” part of modern kits isn’t the chemistry — it’s the packaging that lets you do it at home.
The 5 Main Types of At-Home Whitening Kits
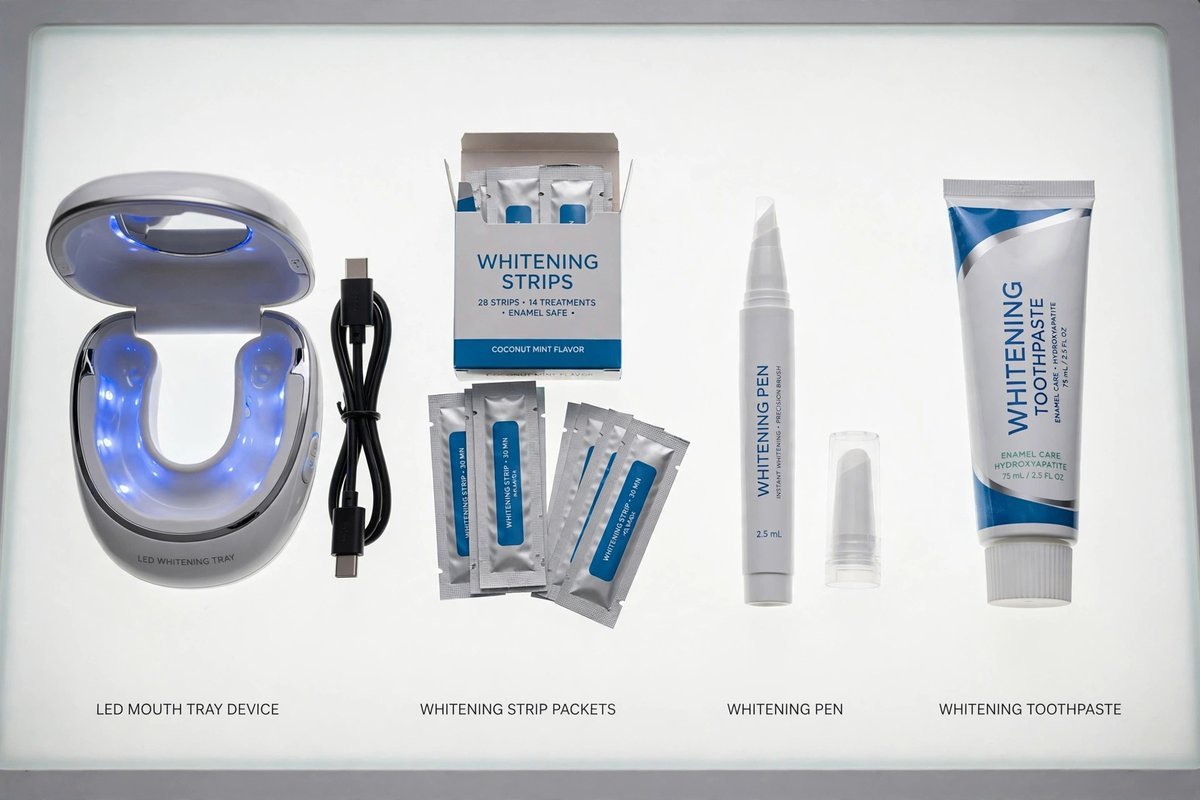
Walk into any drugstore or browse online and you’ll see five basic formats. Here’s what each one actually is, and who it’s for.
1. Whitening strips
Thin, flexible plastic strips coated with peroxide gel that you press onto your upper and lower teeth, leave on for 30 minutes or so, then peel off. Strips are the most popular format in the world — they’re cheap (usually in the $20–$60 range for a multi-week course), easy to use while doing other things, and the research behind peroxide strips is the most established of any home format.
The downside: coverage can be uneven. Strips don’t wrap perfectly around every tooth, so the edges and backs of teeth sometimes stay darker. If your teeth are crowded or crooked, expect patchy results. They’re also not great for people who need a big shade change quickly.
2. LED light kits
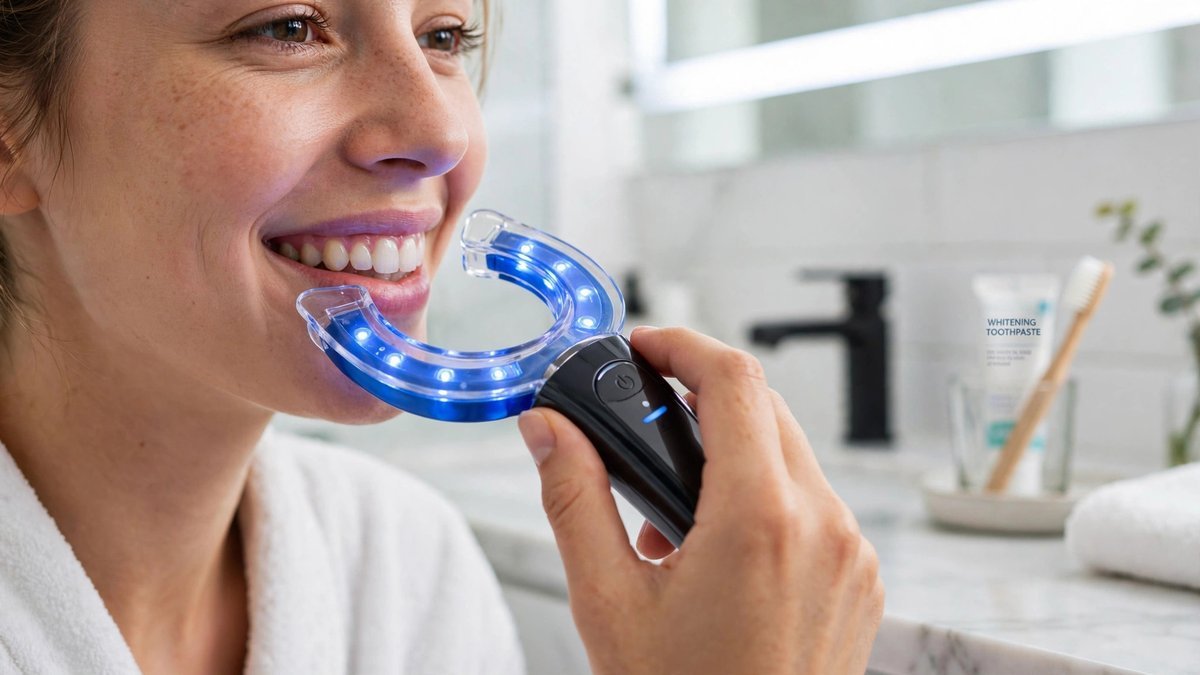
These kits pair a whitening gel (painted on or held in a mouth tray) with a small mouthpiece containing blue LED lights. You wear the light-up tray for 10–30 minutes per session. The light is marketed as “accelerating” the whitening, though independent dental researchers are divided on how much the light itself adds — the gel does most of the heavy lifting.
LED kits usually cost $30–$100+, and they feel like the most “high-tech” option. They’re a good middle ground: more powerful than strips for most people, more affordable than custom trays. The gel concentrations tend to be higher, so sensitivity is more common.
3. Custom-fit tray kits
These ship with thermoplastic trays you soften in hot water and bite into, molding them to your teeth — a DIY version of what dentists make in-office. You fill the tray with whitening gel and wear it, often overnight or for an hour daily. Prices typically run $100–$200+ for a full system with gel refills.
The custom fit is the selling point: the gel stays in even contact with every tooth surface, which means more uniform whitening and less gel leaking onto your gums (which is what causes most irritation). If you’ve tried strips and gotten patchy results, trays are the logical next step.
4. Whitening pens
A twist-up pen with a brush tip that paints gel directly onto individual teeth. Pens are the cheapest format (often $10–$30) and the most portable — people keep them in a bag for touch-ups before photos or events. The gel layer is thin and the dose is small, so pens are best for maintenance and spot treatment rather than a full whitening course.
5. Whitening toothpaste and powder systems
These rely on mild abrasives or low-dose peroxide to polish away surface stains with daily brushing. They’re the gentlest option and the slowest — think weeks of consistent use for a modest brightening. Powders (charcoal and otherwise) are trendy, but dentists generally warn that abrasive powders can wear enamel if overused. Toothpaste is a fine maintenance tool; it’s not a substitute for a real whitening course if you want a visible change.
For broader health and wellness explainers like this one, A Daily Insight 360 publishes practical guides across health, science and everyday living.
Kit Types Compared: Cost, Effort and Results
Here’s how the five formats stack up on the things that actually matter:
| Kit type | Typical price range | Daily time | Course length | Whitening power | Sensitivity risk | Best for |
|---|---|---|---|---|---|---|
| Whitening strips | $20–$60 | 30 min | 2–3 weeks | Moderate | Low–moderate | First-timers, surface stains |
| LED light kits | $30–$100+ | 10–30 min | 1–2 weeks | Moderate–high | Moderate | Faster visible change |
| Custom-fit trays | $100–$200+ | 1 hr or overnight | 1–2 weeks | High | Moderate–high | Even coverage, stubborn stains |
| Whitening pens | $10–$30 | Minutes | Ongoing | Low | Low | Touch-ups, travel |
| Whitening toothpaste | $5–$15 | 2 min (brushing) | Ongoing | Low | Very low | Maintenance only |
Prices are approximate and vary widely by brand and retailer — treat them as ballpark figures, not quotes.
How to Choose the Right Kit for You
Forget the marketing. To find the best at home teeth whitening kits for your teeth, run through this checklist and the right format usually picks itself:
1. How sensitive are your teeth?
If cold drinks already make you wince, start gentle. Whitening strips or a low-percentage carbamide peroxide kit will get you there slower but without the two-day zing. People with robust, non-sensitive teeth can jump straight to LED kits or custom trays.
2. What kind of stains do you have?
Surface stains from coffee, tea and red wine respond to every format on this list. Deeper, yellowish discoloration from aging or medication needs a stronger approach — custom trays or an LED kit with a higher peroxide concentration. If your discoloration comes from a dead tooth, a filling, or medication taken in childhood, home kits may barely touch it (more on that below).
3. How even are your teeth?
Straight, evenly spaced teeth work fine with strips. Crowded, crooked or widely spaced teeth need a tray or painted-on gel that reaches every surface, or you’ll end up with a patchwork smile.
4. Do you have dental work?
This is the one people miss. Whitening gel only works on natural enamel — it will not whiten crowns, veneers, fillings or bonding. If you have visible dental work on your front teeth, whitening the natural teeth around it can actually make the mismatch worse. Talk to your dentist first if any of your front teeth are restored.
5. How much effort will you actually put in?
Be honest. A tray system worn overnight for two weeks beats a fancy LED kit you use twice and abandon. If you’re low-effort, strips during your commute are more realistic than a 10-step ritual.
How to Use a Whitening Kit Safely
Most sensitivity and gum irritation comes from user error, not the product. Follow these steps and you’ll avoid the common pitfalls:
- Brush and floss first. Gel works best on clean teeth. Don’t brush immediately before applying — wait about 30 minutes after brushing, since toothpaste residue can interfere with the gel.
- Dry your teeth. Pat the front surfaces dry with a tissue or gauze. Gel sticks to dry enamel far better than wet enamel, which means more whitening and less gel sliding onto your gums.
- Apply the gel precisely. Whether it’s strips, a tray or a painted pen, keep the gel on the teeth and off the gums. Wipe away any excess with a cotton swab or your finger.
- Time it exactly. Set a timer for the duration on the instructions. Longer is not better — overexposure is the fastest route to sensitivity.
- Rinse gently afterward. Rinse with lukewarm water (cold water can sting if your teeth are sensitized). Don’t brush for at least 30 minutes after a session.
- Space out sessions. Daily use for the recommended course is fine; doubling up to “speed things up” is how people end up with translucent, achy teeth.
- Ease off if sensitivity hits. Skip a day or two, switch to a sensitive-teeth toothpaste, and resume when the zing fades. Persistent pain means stop and call your dentist.
Common Mistakes to Avoid
- Whitening with untreated cavities or gum disease. Peroxide on a cavity or inflamed gums causes sharp pain and can make the problem worse. Get a checkup first if it’s been a while.
- Using charcoal powder daily. Abrasive powders scrub stains off mechanically — and keep scrubbing into your enamel. Occasional use is one thing; a daily habit thins the very layer you’re trying to brighten.
- Whitening before a dental appointment for restorations. If you’re getting a crown or veneer, whiten first and let the shade settle for two weeks, so the dentist can match the restoration to your final color.
- Expecting veneers-level results. Home kits typically lift a few shades — a natural brightening, not a Hollywood transformation. If your expectations are set by filtered photos, you’ll be disappointed by any product.
- Drinking red wine the same evening. Freshly whitened enamel is more porous for about 48 hours. Stick to the “white diet” (chicken, rice, white wine, water) for two days after a course to protect your results.
When to Skip Home Kits and See a Dentist
Home kits are cosmetic tools, not dental treatment. Book a dentist instead if any of these apply:
- Your teeth hurt, or you have visible cavities, cracked teeth or bleeding gums.
- Only one tooth is discolored — that can signal a dead or damaged tooth, which needs diagnosis.
- You have extensive crowns, veneers or bonding on visible teeth.
- You’re pregnant or breastfeeding — whitening hasn’t been proven unsafe, but it hasn’t been proven safe either, so dentists advise waiting.
- Previous home whitening caused severe or lasting sensitivity.
The bottom line: a quick dental checkup before your first whitening course is the cheapest insurance you can buy. It rules out problems that whitening would aggravate, and your dentist can tell you in one visit whether your stains are the kind home kits can fix.
Frequently Asked Questions
Do at-home teeth whitening kits damage enamel?
When used as directed, peroxide-based whitening does not damage healthy enamel — the peroxide breaks down stain molecules without scrubbing the tooth surface. Damage usually comes from misuse: overuse, leaving gel on too long, or relying on abrasive charcoal powders daily. If your teeth are healthy and you follow the instructions, the risk is low.
How long do results from whitening kits last?
Typically three to six months, depending on your habits. Coffee, tea, red wine and tobacco restain teeth fastest. A whitening toothpaste for maintenance and the occasional touch-up session (a pen or a few strip days) will stretch your results considerably.
Why do my teeth hurt after whitening?
Temporary sensitivity is the most common side effect — peroxide briefly dehydrates the tooth and irritates the nerve inside. It usually fades within 24–48 hours. Using a desensitizing toothpaste for a week before and after your course helps, as does spacing out sessions. Sharp or lasting pain is not normal; stop and see a dentist.
Can I whiten teeth with crowns or veneers?
The whitening gel won’t change the color of crowns, veneers, fillings or bonding — only natural enamel. Whitening around visible dental work can make the color mismatch more obvious, so get your dentist’s advice first.
Are LED whitening lights safe?
The blue LED lights in home kits are low-energy and generally considered safe for the intended short sessions. Most of the whitening comes from the gel, not the light. Don’t stare into the light, and don’t extend sessions beyond the instructions hoping for faster results.
How often can I whiten my teeth at home?
Complete one full course, then wait. Most dentists suggest waiting at least three to six months between full courses, with only light touch-ups in between. Whitening more often than that increases sensitivity without much extra benefit.
Do whitening kits work on coffee and tea stains?
Yes — surface stains from coffee and tea are exactly what home kits handle best. Two to three weeks of strips or a week of an LED kit usually produces a clearly visible difference on this kind of staining.
Conclusion: The Best At Home Teeth Whitening Kits
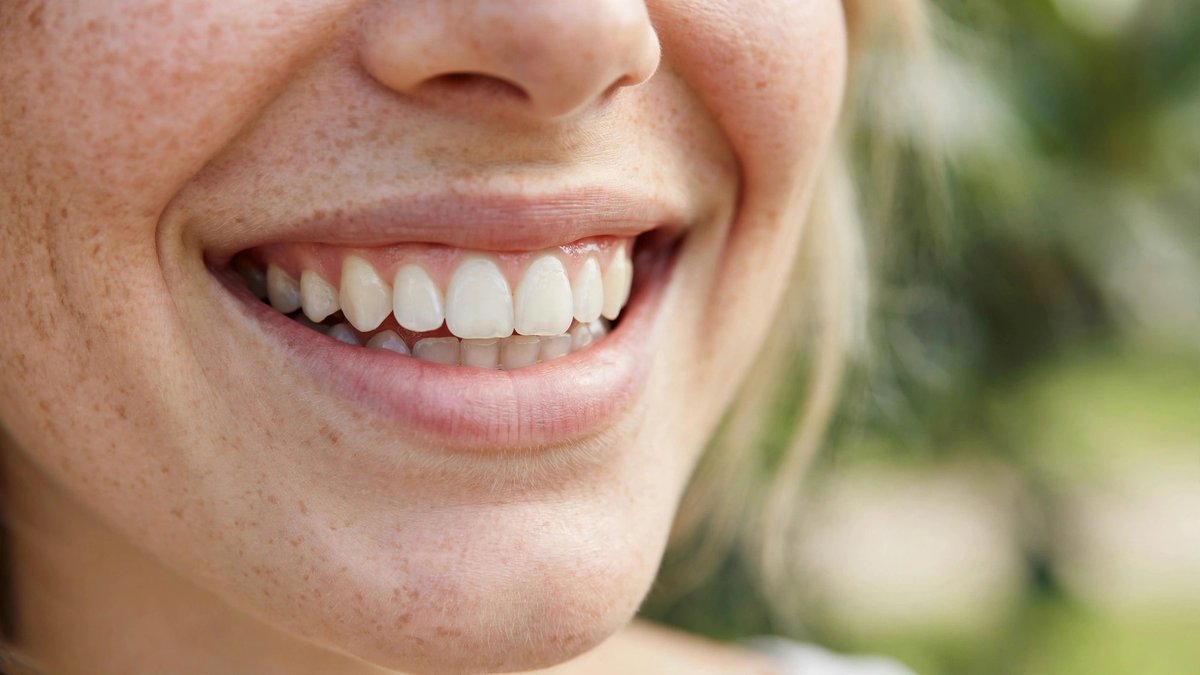
The bottom line: the best at home teeth whitening kits aren’t always the priciest — the right one is the one that matches your teeth. Strips for straightforward surface stains, an LED kit for a faster visible change, custom trays for stubborn or uneven discoloration, a pen for touch-ups, and toothpaste for maintenance. Start gentle if you’re sensitivity-prone, keep gel off your gums, and get a dental checkup first if anything hurts or looks off.
Whitening is one of the simplest cosmetic upgrades you can do at home, but it’s still chemistry on your body. Respect the instructions, be patient with the timeline, and you’ll get a brighter smile without the drama. For more everyday explainers across health, tech and lifestyle, Daily Scope 67 publishes fresh guides daily.
Read Also: Peter Sarsgaard: Age, Wife, Movies and Career Highlights (2026 Guide)




One Comment