
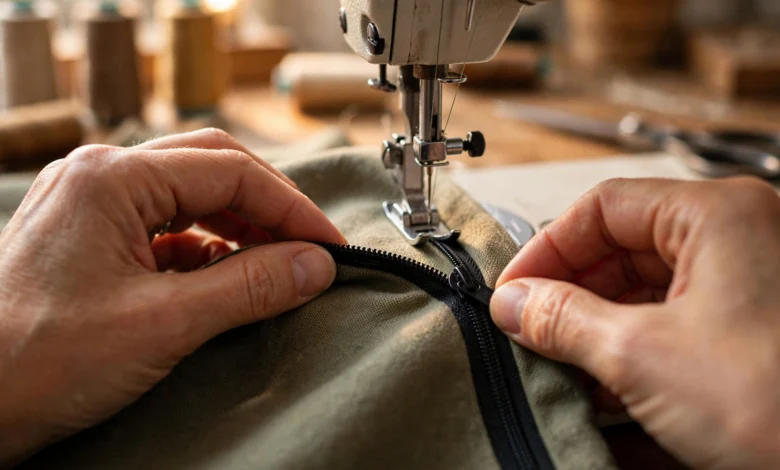
Learning how to sew a zipper is less scary than it sounds. Somewhere along the way, zippers got a reputation — if you’ve ever flipped through a sewing pattern and felt your stomach drop at the words “insert zipper,” you’re not alone. Generations of beginners have treated that little strip of teeth like a final boss. Here’s the secret nobody tells you at the start: sewing a zipper is mostly just sewing a straight line, slowly, with a slightly different foot on your machine. That’s genuinely most of it. Once you’ve done one, you’ll wonder what all the fuss was about, and you’ll start putting zippers in everything — cushion covers, skirts, pouches, tote bags with actual working pockets.
This guide is written for total beginners. We’ll cover the tools you actually need (spoiler: it’s a short list), the main types of zippers and when to use each one, and then three methods — the centered zipper, the lapped zipper, and the invisible zipper — broken down into small, doable steps. No unexplained jargon, no assumptions about what you already know. Take it slow, and by the end you’ll have a skill that opens up half the patterns in existence.
The bottom line: the easiest way to sew your first zipper is the centered method. Baste your seam closed, press it open, lay the zipper face-down underneath, and stitch down each side with a zipper foot. Remove the basting, give it a good press, and you’re done. The whole thing takes about twenty minutes once you’ve done it once or twice, and every other zipper method is just a variation on this same idea.
In This Guide
- What You’ll Need: Tools & Supplies
- Types of Zippers & When to Use Each
- Before You Start: Prep Work That Makes It Easy
- Method 1: The Centered Zipper (Step-by-Step)
- Method 2: The Lapped Zipper
- Method 3: The Invisible Zipper
- Troubleshooting: Fixing Common Zipper Problems
- Tips for a Professional Finish
- Frequently Asked Questions
- Conclusion: How to Sew a Zipper Like a Pro
What You’ll Need: Tools & Supplies
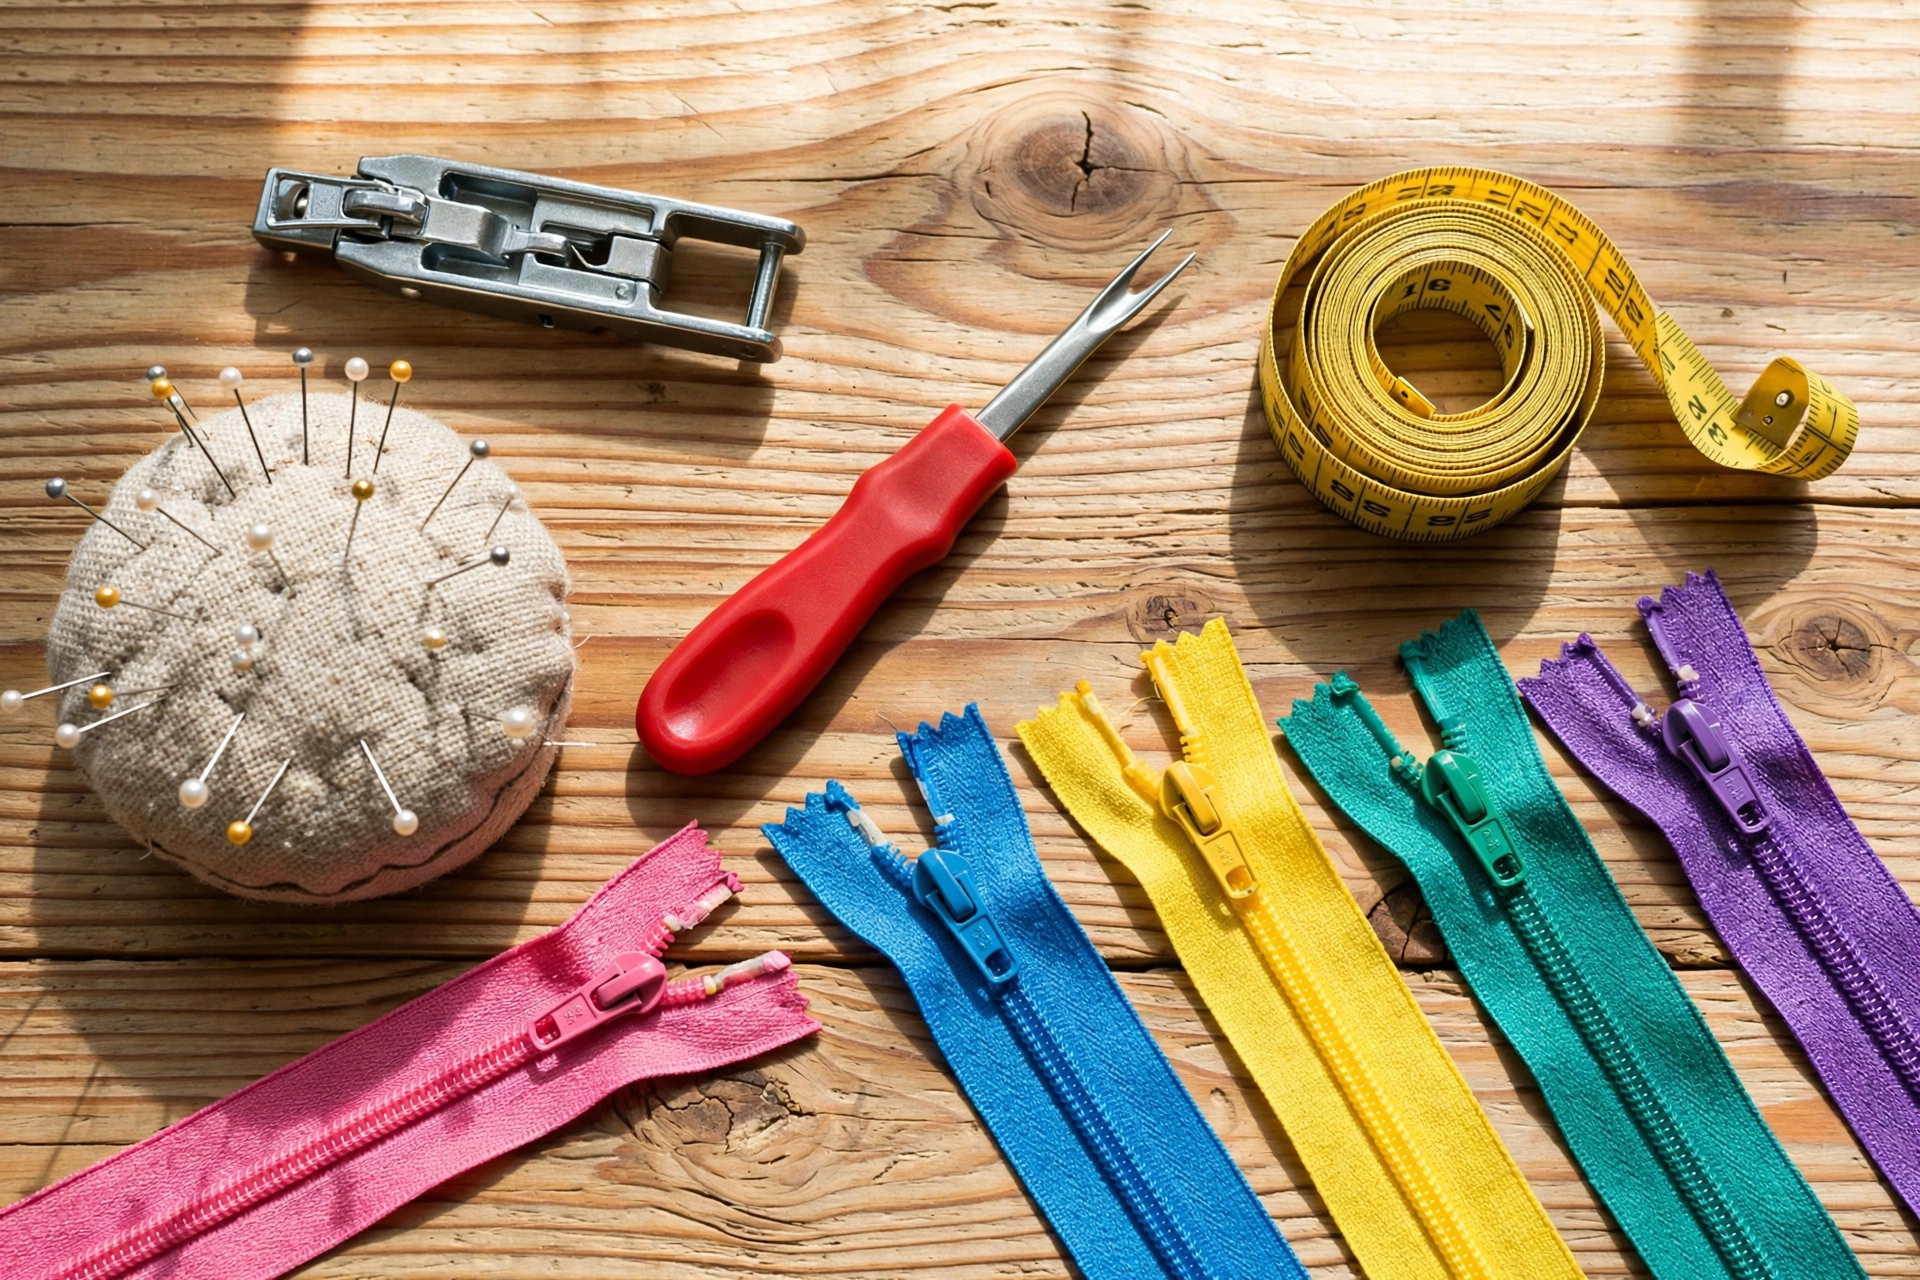
Here’s the good news: you don’t need a fancy setup. Most of what you need is probably already in your sewing kit, and the one specialist item — the zipper foot — very likely came in the box with your machine. Dig through the accessories before you buy anything. Beyond that, it’s the usual suspects: something to hold fabric in place, something to mark with, and an iron, because pressing is quietly half of good sewing.
| Tool | What it does | Beginner tip |
|---|---|---|
| Zipper foot | A narrow presser foot that lets the needle stitch close to the zipper teeth | Check your machine’s accessory box first — most machines ship with one |
| Pins or fabric clips | Hold the zipper in place while you sew | Clips are kinder to delicate or waterproof fabrics that show pin holes |
| Seam ripper | Safely removes stitches if something goes sideways | Keep it within arm’s reach; even experienced sewists use theirs constantly |
| Iron and pressing cloth | Presses seams flat so everything lines up accurately | A crisp press before stitching makes more difference than any gadget |
| Marking chalk or fabric pen | Marks stitch lines, zipper placement, and the opening length | Test on a scrap first — some marks are stubborn about washing out |
| Measuring tape or ruler | Measures the opening twice; re-doing is more annoying than measuring is | Measure the opening twice; re-doing is more annoying than measuring is |
| A zipper | The star of the show | Buy one a little longer than your opening — trimming down is easy, stretching isn’t |
A quick word on that last row, because it’s the mistake almost every beginner makes once: buy the zipper slightly longer than the opening it needs to fill. If your opening is 20 cm, a 22 or 25 cm zipper gives you breathing room. The excess simply gets trimmed away and caught in the seam allowance, while a zipper that’s too short leaves you with a gap you can’t fix. Longer is always the safe choice.
One more thing worth having nearby: a scrap of your project fabric. Whenever you’re unsure about stitch length, foot position, or how the fabric behaves, test on the scrap first. It takes thirty seconds and it has saved more zippers than any tutorial ever will.
Types of Zippers & When to Use Each
Walk into any fabric shop and the zipper wall can feel overwhelming, but there are really only four types a beginner needs to know. Picking the right one matters — the wrong zipper in the wrong project is behind a surprising number of “why does this look homemade in a bad way” moments. Here’s the quick tour.
| Tool | What it does | Beginner tip |
|---|---|---|
| Zipper foot | A narrow presser foot that lets the needle stitch close to the zipper teeth | Check your machine’s accessory box first — most machines ship with one |
| Pins or fabric clips | Holds the zipper in place while you sew | Clips are kinder to delicate or waterproof fabrics that show pin holes |
| Seam ripper | Safely removes stitches if something goes sideways | Keep it within arm’s reach; even experienced sewists use theirs constantly |
| Iron and pressing cloth | Presses seams flat so everything lines up accurately | A crisp press before stitching makes more difference than any gadget |
| Marking chalk or fabric pen | Marks stitch lines, zipper placement, and the opening length | Test on a scrap first — some marks are stubborn about washing out |
| Measuring tape or ruler | Measures the opening twice; re-doing is more annoying than measuring is | Measure the opening twice; re-doing is more annoying than measuring is |
| A zipper | The star of the show | Buy one a little longer than your opening — trimming down is easy, stretching isn’t |
Coil zippers are where most beginners should start. They’re forgiving, they come in every color imaginable, and they work in the widest range of projects. If a pattern just says “zipper” without specifying, a coil zipper in a matching color is almost always the right call.
Invisible zippers look like magic — a clean seam with no visible closure — but they need a special invisible zipper foot and a bit more patience. Worth learning once you’re comfortable with the centered method, especially if you sew dresses. They only come in the coil style, and the tape is deliberately flimsy so it can roll flat, which means they don’t suit heavy fabrics.
Metal zippers are the workhorses. The teeth are individual metal pieces clamped onto the tape, so they’re strong but also stiff — great for jeans and jackets, terrible for anything that needs to drape. A word of warning: you cannot sew through metal teeth, so precision matters more here. They’re also often sewn in exposed, as a design feature.
Fun fact: the zipper took decades to catch on. Early versions date back to the late 1800s, but it wasn’t until the 1930s that zippers really took off in everyday clothing — before that, most garments closed with buttons. The name “zipper” itself came from the sound it makes.
Before You Start: Prep Work That Makes It Easy
Here’s something experienced sewists will tell you over and over: a zipper that’s easy to sew is mostly decided before the machine is even switched on. Ten minutes of prep saves thirty minutes of unpicking. Run through this checklist and the actual stitching becomes the easy part.
Press your seams first. Whatever seam the zipper is going into, press it the way the instructions say before you start. Wrinkled, unpressed fabric shifts under the foot and your stitching wanders. This single habit separates neat zippers from wobbly ones more than anything else.
Interface lightweight fabrics. If your fabric is thin or stretchy, iron a strip of fusible interfacing along the seam allowances where the zipper will sit. It stops the fabric stretching and rippling as you sew — the classic cause of the dreaded wavy zipper. This one tip fixes more beginner zipper problems than all the others combined.
Mark the opening clearly. Use chalk or a fabric pen to mark exactly where the zipper opening starts and stops on your seam. When you’re focused on guiding fabric under the needle, those marks are what keep you honest. Mark on the wrong side of the fabric so nothing shows on the finished piece.
Choose your zipper length with margin. As mentioned above, buy longer than you need. A zipper that’s a few centimeters too long just gets trimmed; the top stop stays put and the excess hides in the seam allowance. A zipper that’s too short is a trip back to the shop.
Baste when in doubt. Basting — long, loose temporary stitches, by hand or machine — is how you hold everything exactly where you want it before committing. It feels slow the first time, but it’s dramatically faster than unpicking a crooked zipper. If you take one habit from this guide, make it this one.
Method 1: The Centered Zipper (Step-by-Step)
The centered zipper is the classic: the zipper sits directly under the seam, with stitching visible in two neat lines, one on each side. It’s the method used in most skirts, dresses, and cushion covers, and it’s the most forgiving place to start because everything is symmetrical — if one side looks right, the other will too. Work slowly, and don’t be shy about pinning generously.
Step 1: Mark and baste the seam closed. With right sides together, stitch the seam as normal up to the bottom of the zipper opening, backstitching at that point for strength. Then switch to your longest stitch length and baste (no backstitch) along the zipper opening itself, continuing to the end of the seam. You’ve now got the seam fully closed with a section that’s easy to remove later.
Step 2: Press the seam open. Press the entire seam open, including the basted section. Use a pressing cloth if your fabric is delicate. This is the step beginners skip and then regret — a well-pressed seam is what lets the zipper lie flat and the stitching lines stay even.
Step 3: Position the zipper face-down. Turn your work so the wrong side faces up. Lay the closed zipper face-down (teeth facing down toward the fabric) centered over the basted opening, with the top of the zipper tape aligned near the top of the seam. The zipper pull should be at the top. Double-check it’s centered — eyeballing this from the right side later is how lopsided zippers happen.
Step 4: Pin or baste the zipper in place. Pin through the zipper tape and both seam allowances, or hand-baste it for maximum control. Some sewists use a washable glue stick or double-sided basting tape here instead of pins — all of these work, so use whatever keeps the zipper from shifting. Nothing ruins a zipper faster than it creeping sideways mid-stitch.
Step 5: Stitch down the first side with the zipper foot. Swap to your zipper foot and move the needle to one side so it sits close to the teeth. Starting at the top, stitch down one side of the zipper, about 6–10 mm from the teeth, pivoting neatly at the bottom and stitching across to the other side. Keep your speed steady and moderate — this is not the moment for racing. Use the edge of the foot as your guide to keep the line straight.
Step 6: Stitch up the second side. Stitch up the other side at the same distance from the teeth. Sewing the second side in the opposite direction (up instead of down) helps prevent the fabric from creeping and keeps both lines even. Take a moment to check from the right side that your two stitching lines look symmetrical before you finish.
Step 7: Remove the basting and press. Flip to the wrong side and carefully remove the basting stitches along the opening with your seam ripper, then open the zipper to check it runs smoothly. Give the whole area a final press from the right side with a pressing cloth. Stand back and admire: that’s a proper centered zipper, and you did it yourself.
If you enjoy hands-on projects like this one, you’ll find more how-to guides at adailyinsight360.com — everything from home fixes to creative crafts, written in the same plain step-by-step style.
Method 2: The Lapped Zipper
The lapped zipper is the tailored option — one side of the seam overlaps the other, so only a single line of stitching shows and the zipper teeth stay hidden underneath. You’ll see it in classic trousers, pencil skirts, and anywhere a discreet but sturdy closure is wanted. It looks more advanced than it is; the steps are nearly identical to the centered method, just arranged asymmetrically.
The key difference is in the prep: instead of pressing the seam open, you press one seam allowance to one side and the other flat, creating an overlap. The zipper goes under the overlap, and you stitch through the overlapping layer only, catching the zipper tape beneath. The visible stitching line sits a little further from the seam — typically about 2 cm — which gives that clean, tailored look.
Start by stitching the seam below the opening as normal, then press the seam allowances with one side folded under to form the lap. Position the zipper under the folded edge, pin generously, and stitch from the right side along the fold. The trickiest moment is the bottom of the opening, where you pivot: go slowly, lower the needle into the fabric, lift the foot, turn the work, and continue. A slightly longer stitch length here looks more professional and is easier to keep straight.
Which should you learn first? Honestly, the centered zipper. But the lapped method is the natural second step, and once you can do both, you can handle the closures in the vast majority of garment patterns. If a pattern calls for a lapped zipper specifically, now you know exactly what it’s asking for.
Method 3: The Invisible Zipper
The invisible zipper is the show-off of the family — when it’s done right, all you see is a clean seam, with no stitching lines and no teeth visible. It’s the standard closure for formal dresses and elegant skirts. It does need one extra tool, an invisible zipper foot, which has grooves that unroll the coil as you sew so the needle lands right against the teeth. They’re inexpensive and widely available for most machine brands.
The method itself is straightforward once the foot is on. First, press the zipper tape flat — unroll the coils away from the teeth with your iron on low heat, because stitching close to the teeth is the whole game. With the zipper open and face-up, pin the right side of the zipper tape to the right side of one seam allowance, aligning the teeth with the seam line. Using the invisible zipper foot, stitch from the top down, stopping a few centimeters above the bottom where the bulk gets tricky.
Then close the zipper, pin the other tape to the other seam allowance, and stitch that side from the top down as well. Finally, switch back to a regular zipper foot to close the remaining seam below the zipper, overlapping your stitching slightly for strength. The classic beginner mistake is stitching too far from the teeth, which leaves a visible gap — if you can see teeth or a pucker when the seam is closed, unpick and stitch closer. It’s fiddly the first time and completely routine the third time.
Fun fact: invisible zippers only work well in seams that don’t take much strain, which is why you rarely see them in jeans or bags. The fine coil and narrow tape are designed to disappear, not to muscle through heavy-duty use — right tool, right job.
Troubleshooting: Fixing Common Zipper Problems
Even careful sewists hit snags. The difference between a beginner and an experienced sewist isn’t that the experienced one never makes mistakes — it’s that they know which mistake they just made and how to fix it. Here’s the rogue’s gallery.
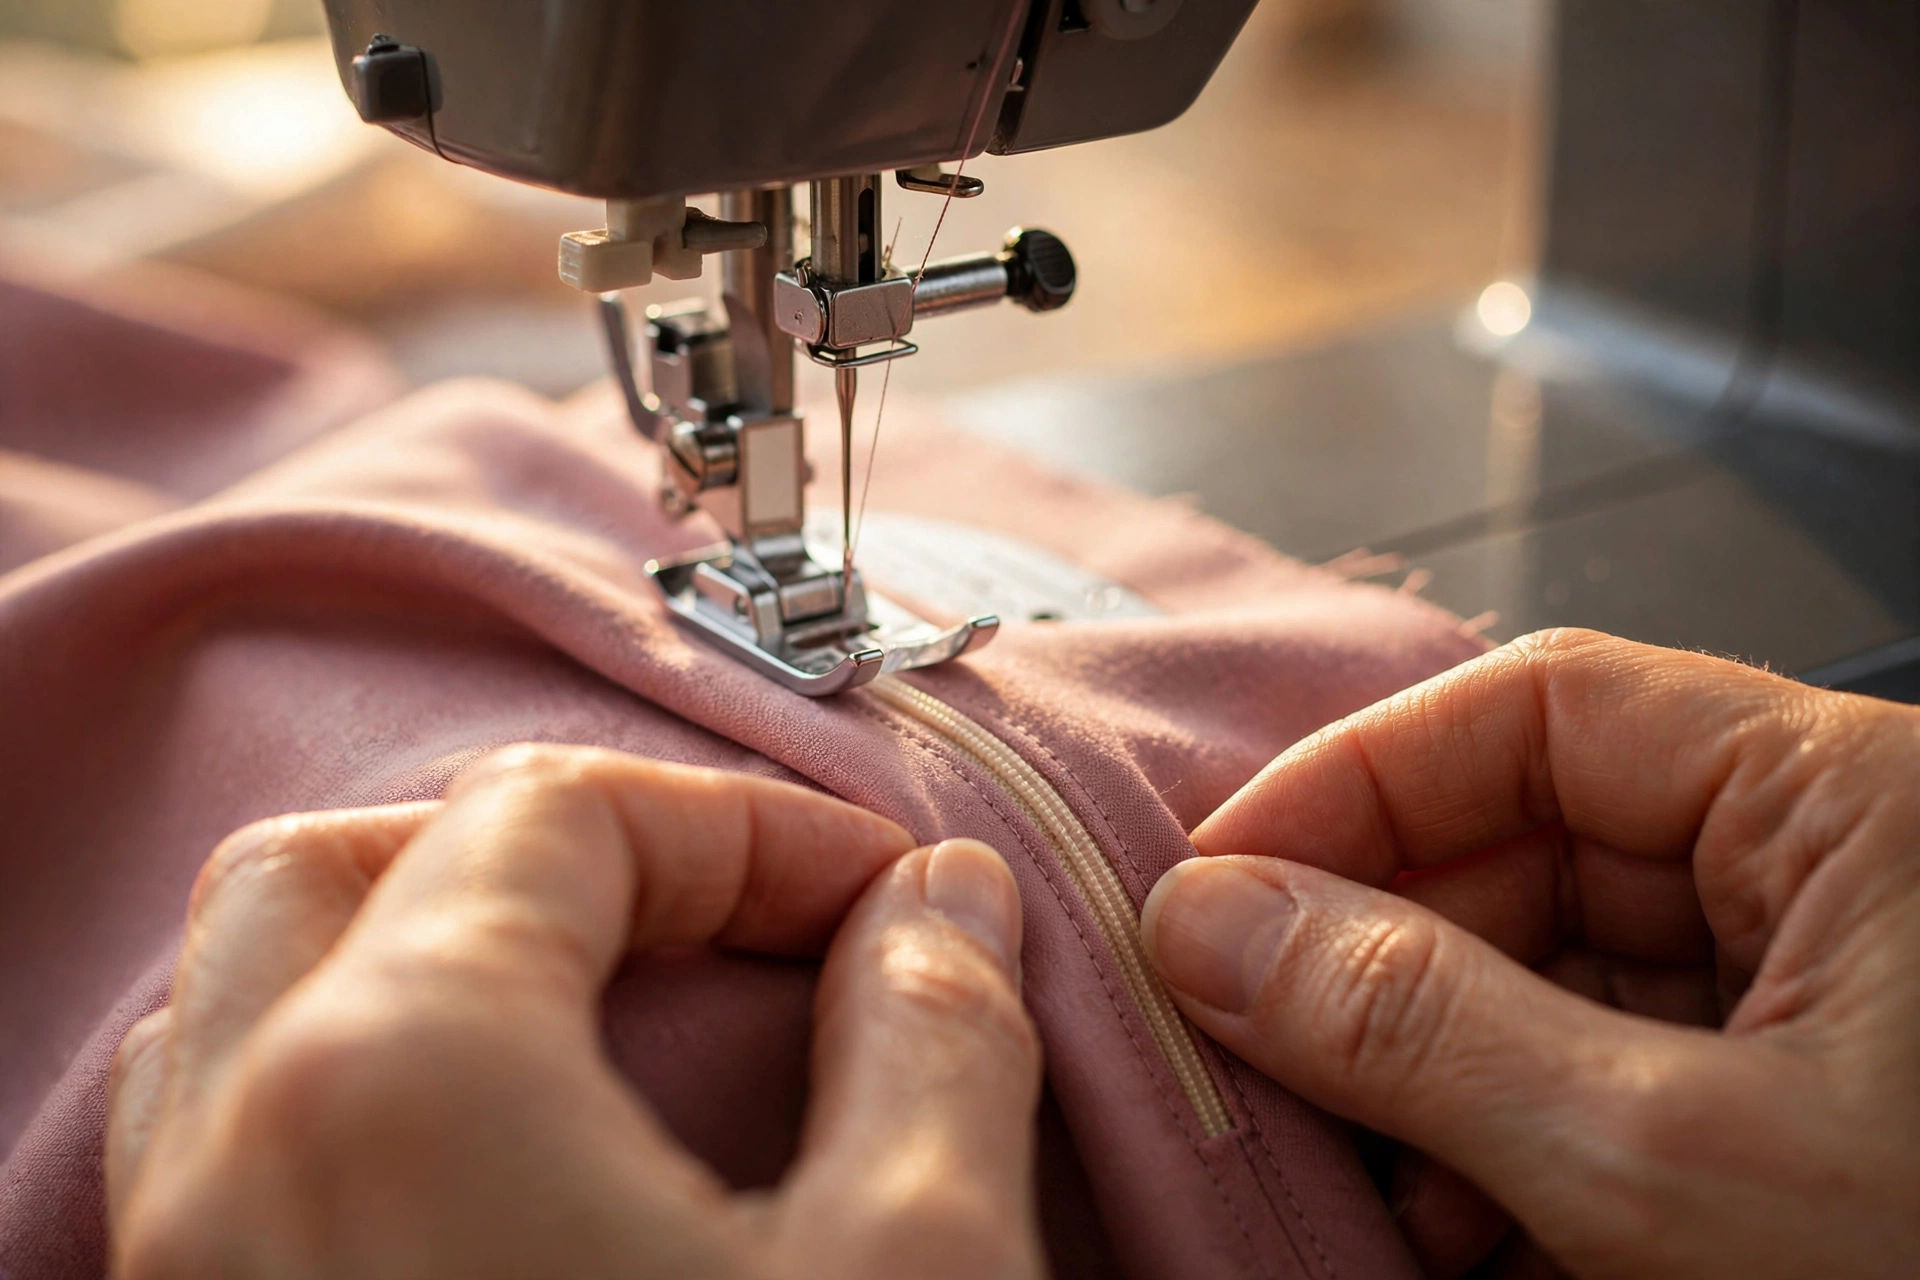
Puckering along the stitching line. This is the most common complaint, and the cause is almost always tension — either the fabric was stretched as it went under the foot, or the presser foot pressure was too high. Don’t pull or push the fabric; just guide it and let the feed dogs do the work. If your machine lets you reduce presser foot pressure, do it for zipper work. Interfacing the seam allowances beforehand prevents most puckering before it starts.
Wobbly topstitching lines. The visible stitching wandering off course is usually a speed problem, not a skill problem. Slow down, and use the edge of the zipper foot as a physical guide against the teeth — that’s literally what the foot is shaped for. Marking your stitching line with chalk first also helps enormously; following a visible line is much easier than judging distance by eye at speed.
The zipper won’t close smoothly. Stop and look at the teeth before you force anything. Nine times out of ten, a thread is caught in the teeth, the tape got nicked by the needle, or the two sides are misaligned at the bottom. Pick out any trapped threads, check that the bottom of the opening lines up evenly, and try again gently. Forcing a stuck zipper is how teeth get bent, and bent teeth rarely recover.
Wobbly topstitching lines. The visible stitching wandering off course is usually a speed problem, not a skill problem. Slow down, and use the edge of the zipper foot as a physical guide against the teeth — that’s literally what the foot is shaped for. Marking your stitching line with chalk first also helps enormously; following a visible line is much easier than judging distance by eye at speed.
The zipper shows on the right side when it shouldn’t. In a centered zipper, this means the stitching lines are too far from the teeth or the seam wasn’t pressed crisply open. In an invisible zipper, the stitching was too far from the teeth or the seam wasn’t pressed crisply open. Both are fixed the same way: unpick, press again, and stitch closer. The seam ripper is not an admission of failure — it’s a standard tool, and using it is part of the process.
Tips for a Professional Finish
The gap between “fine” and “looks store-bought” is smaller than you’d think. It’s rarely about talent; it’s about a handful of small habits that professionals do automatically and beginners haven’t picked up yet. Adopt even half of these and your zippers will level up immediately.
Press at every stage, not just at the end. Press before you position the zipper, press after stitching each side, press the finished result. Pressing sets the stitches into the fabric and gives everything that crisp, intentional look. A tailor’s ham or a rolled-up towel helps press curved areas without flattening them.
Match your thread properly. Hold the thread spool against the fabric in natural light, not under shop lighting. When in doubt between two shades, go slightly darker — darker thread recedes into the seam while lighter thread draws the eye. For topstitching that’s meant to show, match exactly or go deliberately contrast; there’s no middle ground that looks good.
Backstitch at stress points. The bottom of the zipper opening takes the most stress, so backstitch firmly there — three or four stitches, not just one timid reverse. The top of the zipper near the waistband or neckline deserves the same treatment. These are the spots that pop open months later if you skimp.
Trim bulk at the bottom. Where the zipper tape extends past the opening into the seam allowance, trim the excess tape at an angle and finish the raw edge. Bulky corners are what make the bottom of a zipper area look lumpy from the outside. Less is more here.
Check from the right side as you go. Don’t wait until the end to flip your work over and look. After each side, check that the stitching is even and the fabric lies flat. Catching a problem early means unpicking one line, not two — and your future self will thank you.
For more beginner-friendly craft and home tutorials in this style, take a look at the how-to collection at adailyinsight360.com — new practical guides go up regularly.
Frequently Asked Questions
Can I sew a zipper without a zipper foot?
You can, but it’s genuinely harder than it needs to be. A standard presser foot is too wide to get the needle close to the teeth, so your stitching lands far from the zipper and looks uneven. A zipper foot costs very little, fits most machines, and transforms the job from fiddly to straightforward. If you’re serious about learning, it’s the single best small purchase you can make.
What stitch length should I use for a zipper?
A standard straight stitch of about 2.5 mm works for most zipper stitching. Use your machine’s longest stitch (4–5 mm) for basting, since those stitches need to come out easily later. For visible topstitching on heavier fabrics like denim, a slightly longer stitch of 3–3.5 mm looks more professional and is easier to keep straight.
How do I shorten a zipper that’s too long?
This is exactly why you buy long. Stitch a new stop by sewing back and forth several times across the teeth where you want the zipper to end (hand-sewing a few tight whip stitches works too), then trim the excess tape above your new stop. Leave at least a couple of centimeters of tape above it so the ends stay caught in the seam allowance. Never cut through metal teeth with your good fabric scissors — use old shears or wire cutters for metal zippers.
Why does my zipper look wavy after sewing?
Almost always, the fabric stretched while you were sewing. Lightweight and knit fabrics are the usual victims. The fix is prevention: fuse interfacing along the seam allowances before you start, pin or baste generously, don’t stretch the fabric as it feeds, and sew at a moderate speed. If it’s already wavy, unpick, interface, and redo — the second attempt goes much faster.
Should the zipper be longer or shorter than the opening?
Longer — always buy a zipper a bit longer than the opening. The excess is trimmed away and hidden in the seam allowance, while the top stop and pull end up exactly where you need them. A zipper that’s too short leaves a gap at the bottom of the opening that you can’t fix without buying a new zipper.
What’s the easiest zipper method for a complete beginner?
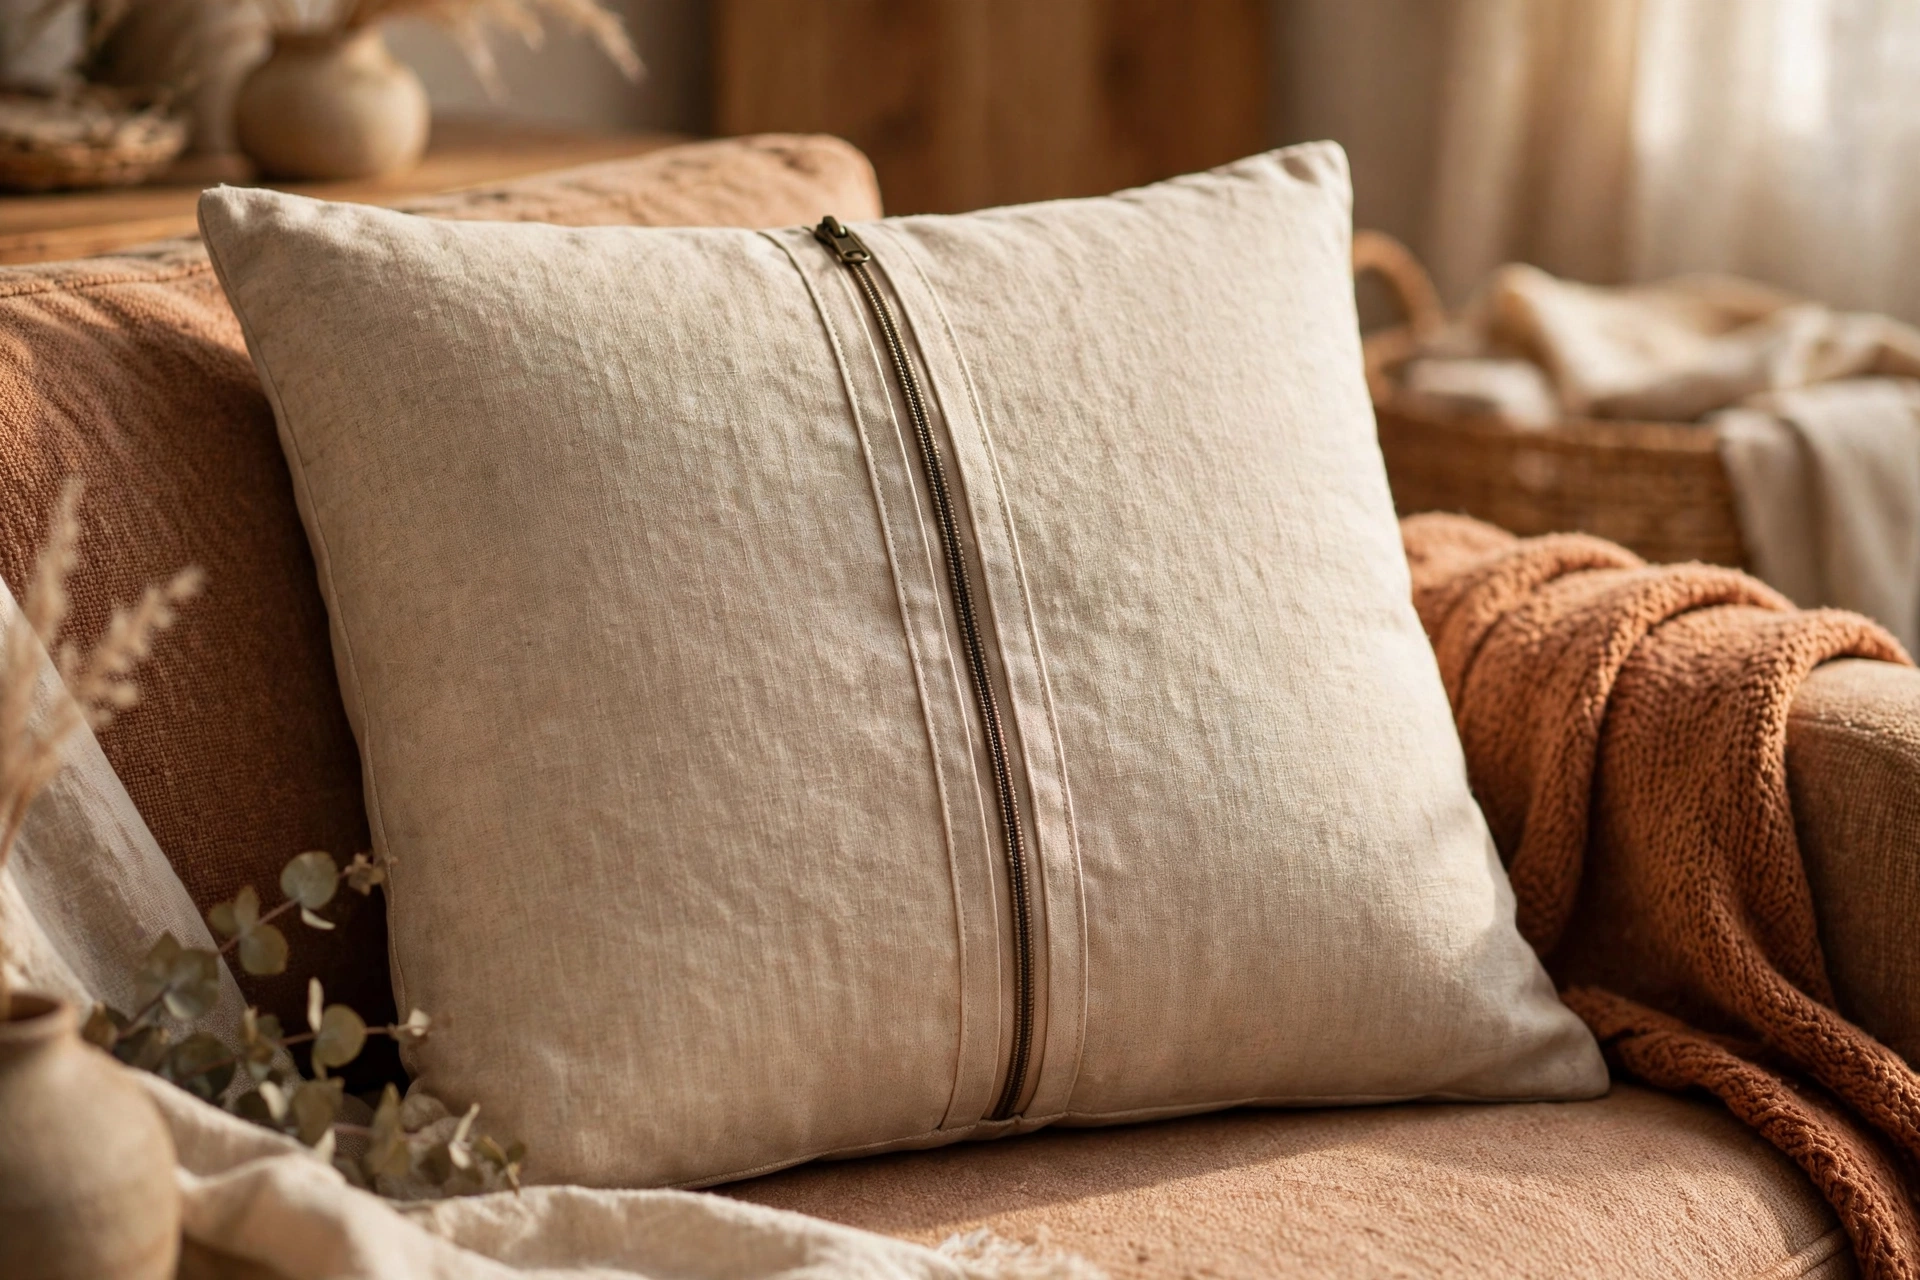
The centered zipper, without question. It’s symmetrical, so both sides are done the same way; the stitching lines are visible, so you can see what you’re doing; and the basting-first approach means nothing shifts unexpectedly. Make a cushion cover with a centered zipper as your first project — it’s useful, it’s quick, and it’s very forgiving of small imperfections.
How do I stop the zipper pull from getting in the way while I sew?
Slide the pull down out of your path before you start each stitching line, and stop with the needle down to reposition it if it creeps back. Sewing over the pull or the pull top can break a needle, so treat them like speed bumps: slow down, move them aside, and stitch past carefully. Some sewists start zippers with the pull at the bottom for exactly this reason, then slide it up when finished.
Conclusion: How to Sew a Zipper Like a Pro
That’s really all there is to it. A zipper is just a straight seam with a closure built in, and the centered method — baste, press, position, stitch, unpick, press — will carry you through most of the projects you’ll ever make. The lapped and invisible methods are waiting when you want them, and they’re both just variations on the same theme. Your first zipper might take half an hour and involve the seam ripper; your fifth will take fifteen minutes and look better than half the ready-made garments in your wardrobe.
So pick a simple first project — a cushion cover is perfect — and give it a go this weekend. Go slow, press everything, and don’t be discouraged if the first attempt isn’t flawless. Every sewist you admire once sewed a crooked zipper and unpicked the whole thing. The only difference is they kept going, and now you know exactly how.
Read Also: Vans (2026 Guide): Brand Story, Iconic Styles & How to Style Them





One Comment